Installing and Configuring OpenClaw on Bitdeer AI Cloud
OpenClaw is a powerful AI agent framework that enables you to build intelligent assistants with multiple capabilities, including web search, code execution, and integration with various AI models. With Bitdeer AI Cloud, OpenClaw can be deployed online with flexible resource allocation and usage-based pricing, making it easier to run AI agents without long-term hardware constraints.
In this guide, we'll walk through the complete process of deploying OpenClaw on Bitdeer AI Cloud and configuring it to work with Telegram for an interactive AI assistant experience.
Prerequisites
Before getting started, ensure you have:
- A Bitdeer AI Cloud account
- Basic knowledge of Linux command line
- A Telegram account for bot integration
Step 1: Setting Up Bitdeer AI Cloud Instance
Ordering a Virtual Machine
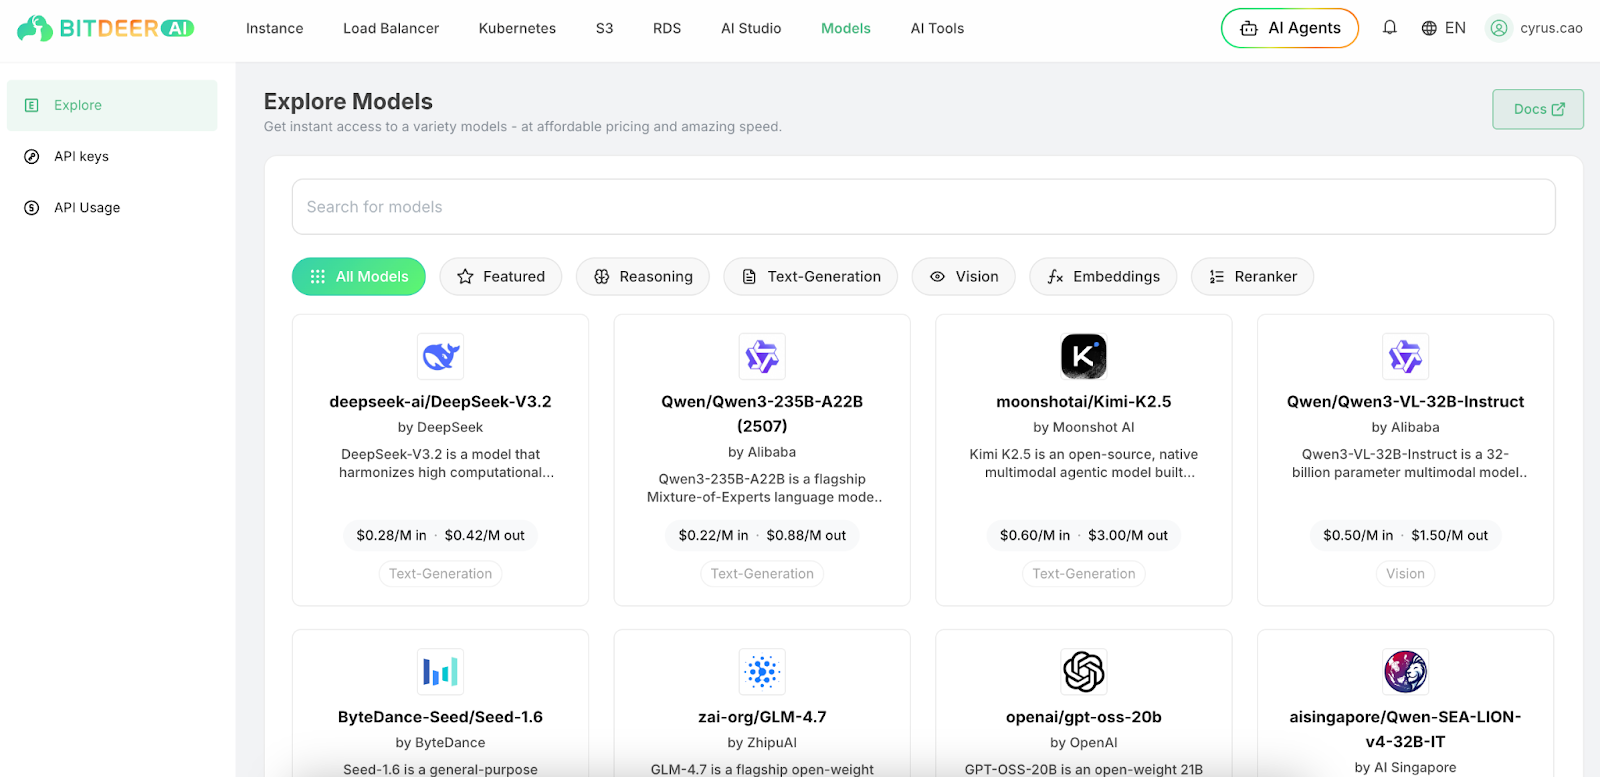
First, navigate to the Bitdeer AI Cloud platform and place an order for a virtual machine instance.
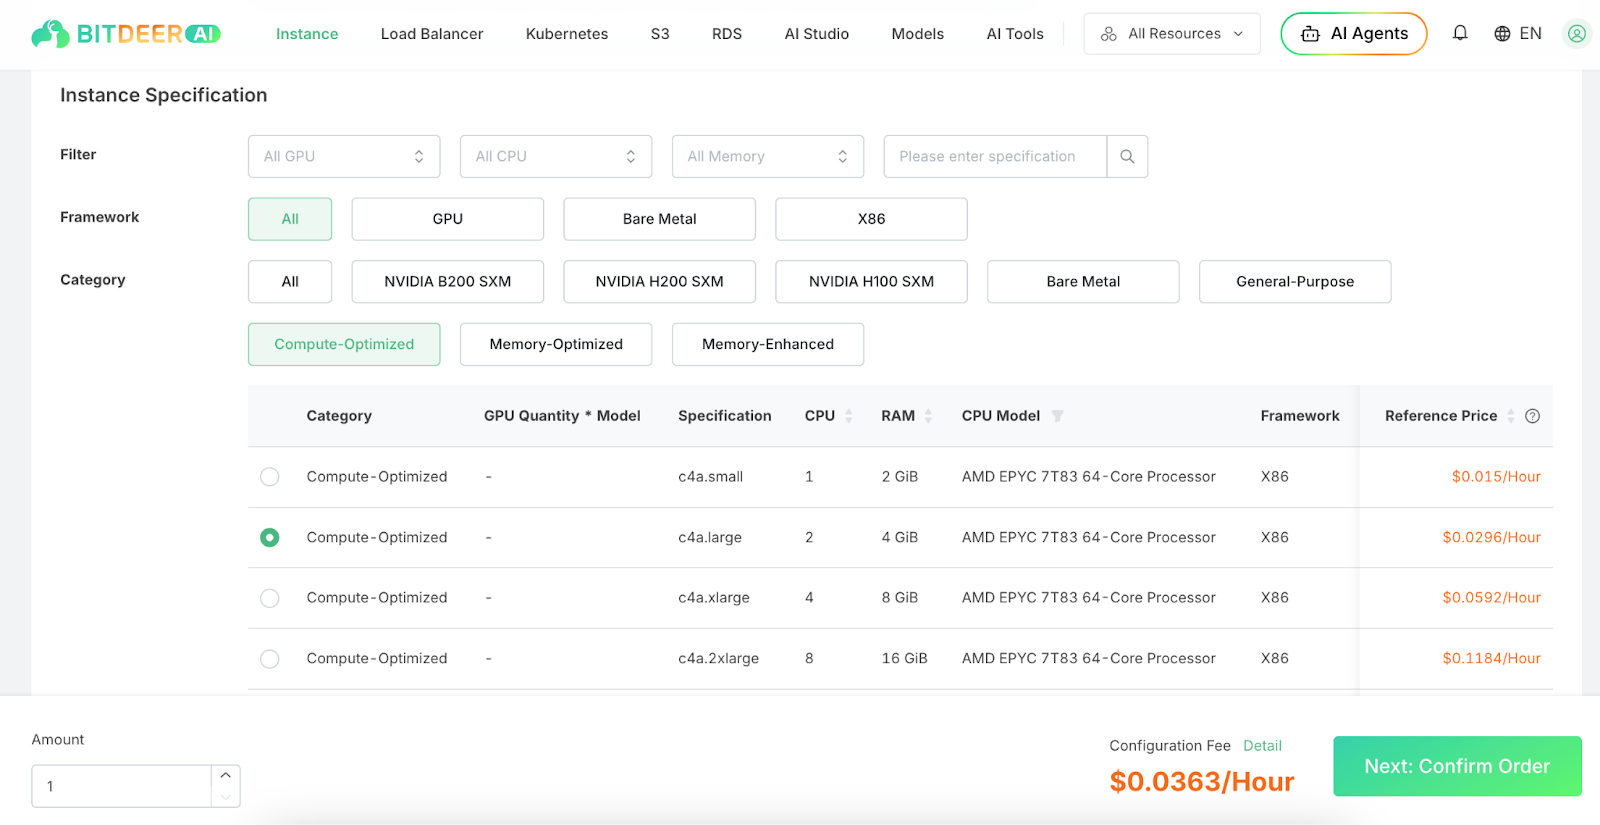
Select an appropriate instance configuration based on your needs. For OpenClaw, we recommend:
- CPU: At least 2 cores
- RAM: Minimum 4GB
- Storage: At least 20GB SSD
- OS: Ubuntu 20.04 or later
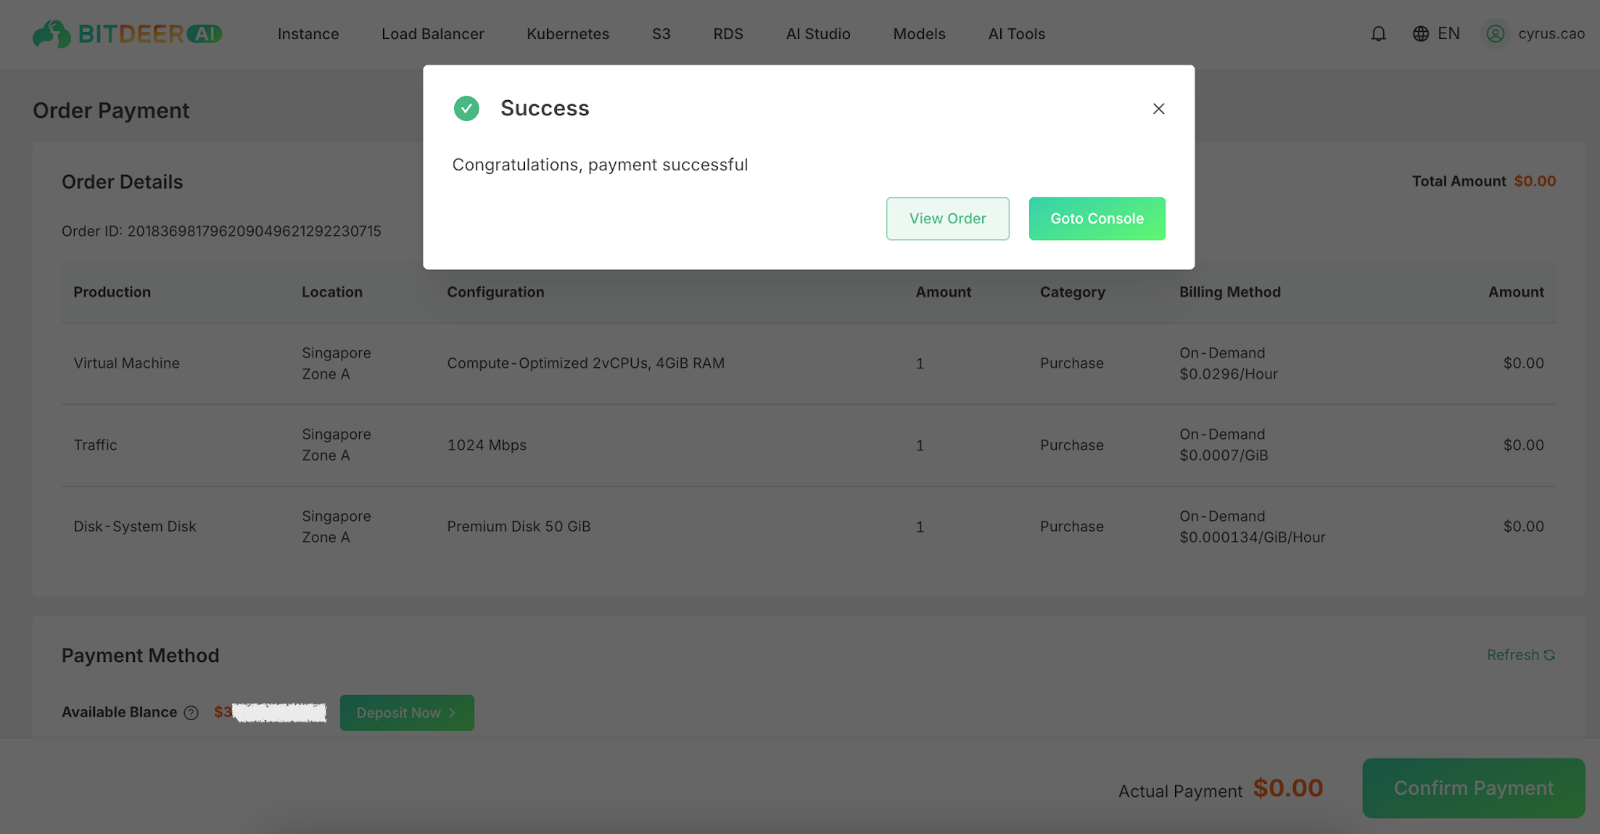
Once your order is confirmed, wait for the instance to be provisioned.
Accessing Your Instance
After the instance is ready, you'll see it in your dashboard with a "Running" status.
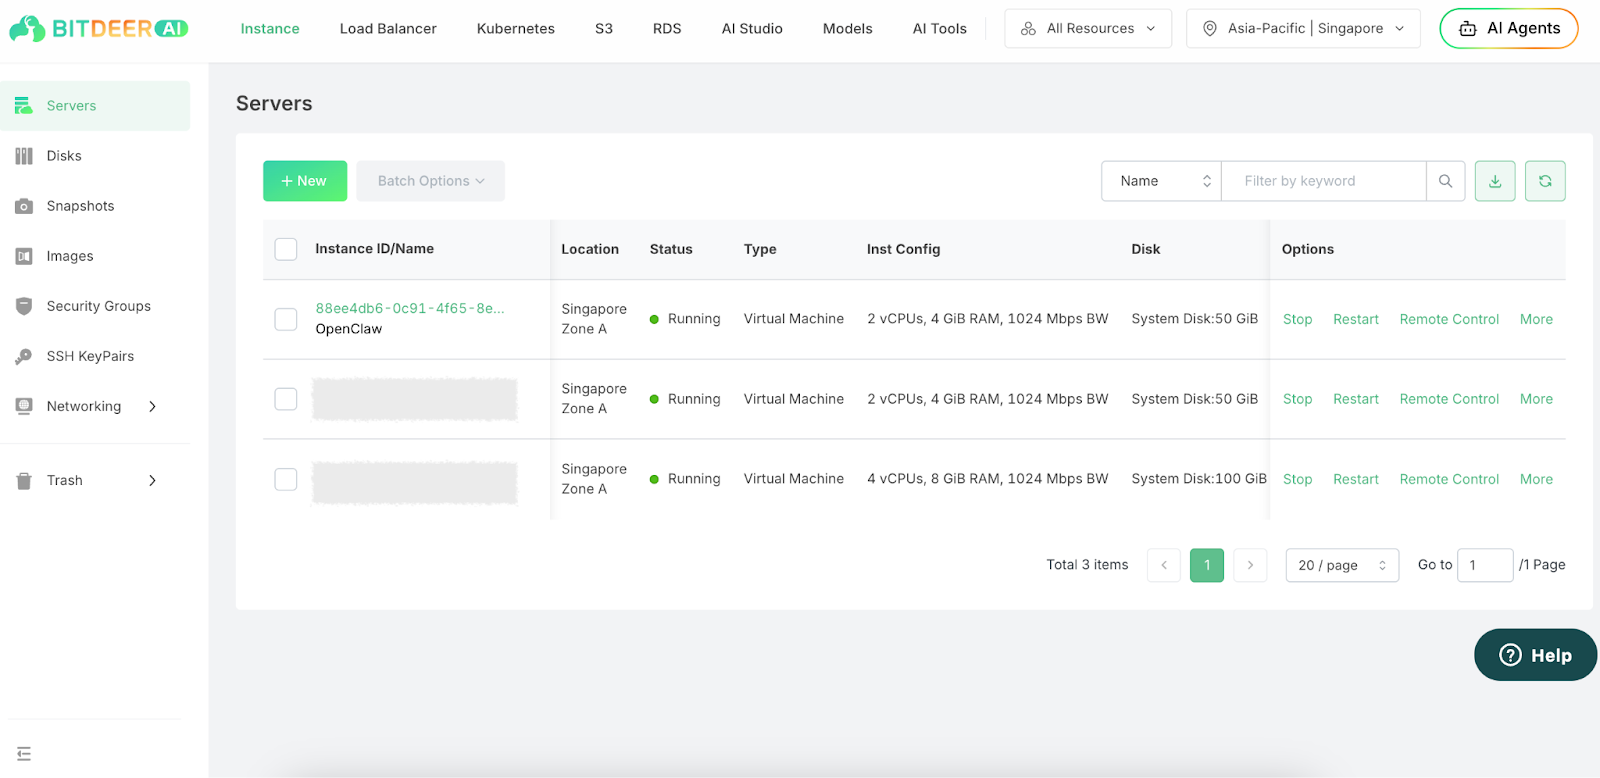
Connect to your instance using SSH:
ssh username@your-instance-ip
Step 2: Installing OpenClaw
Quick Installation
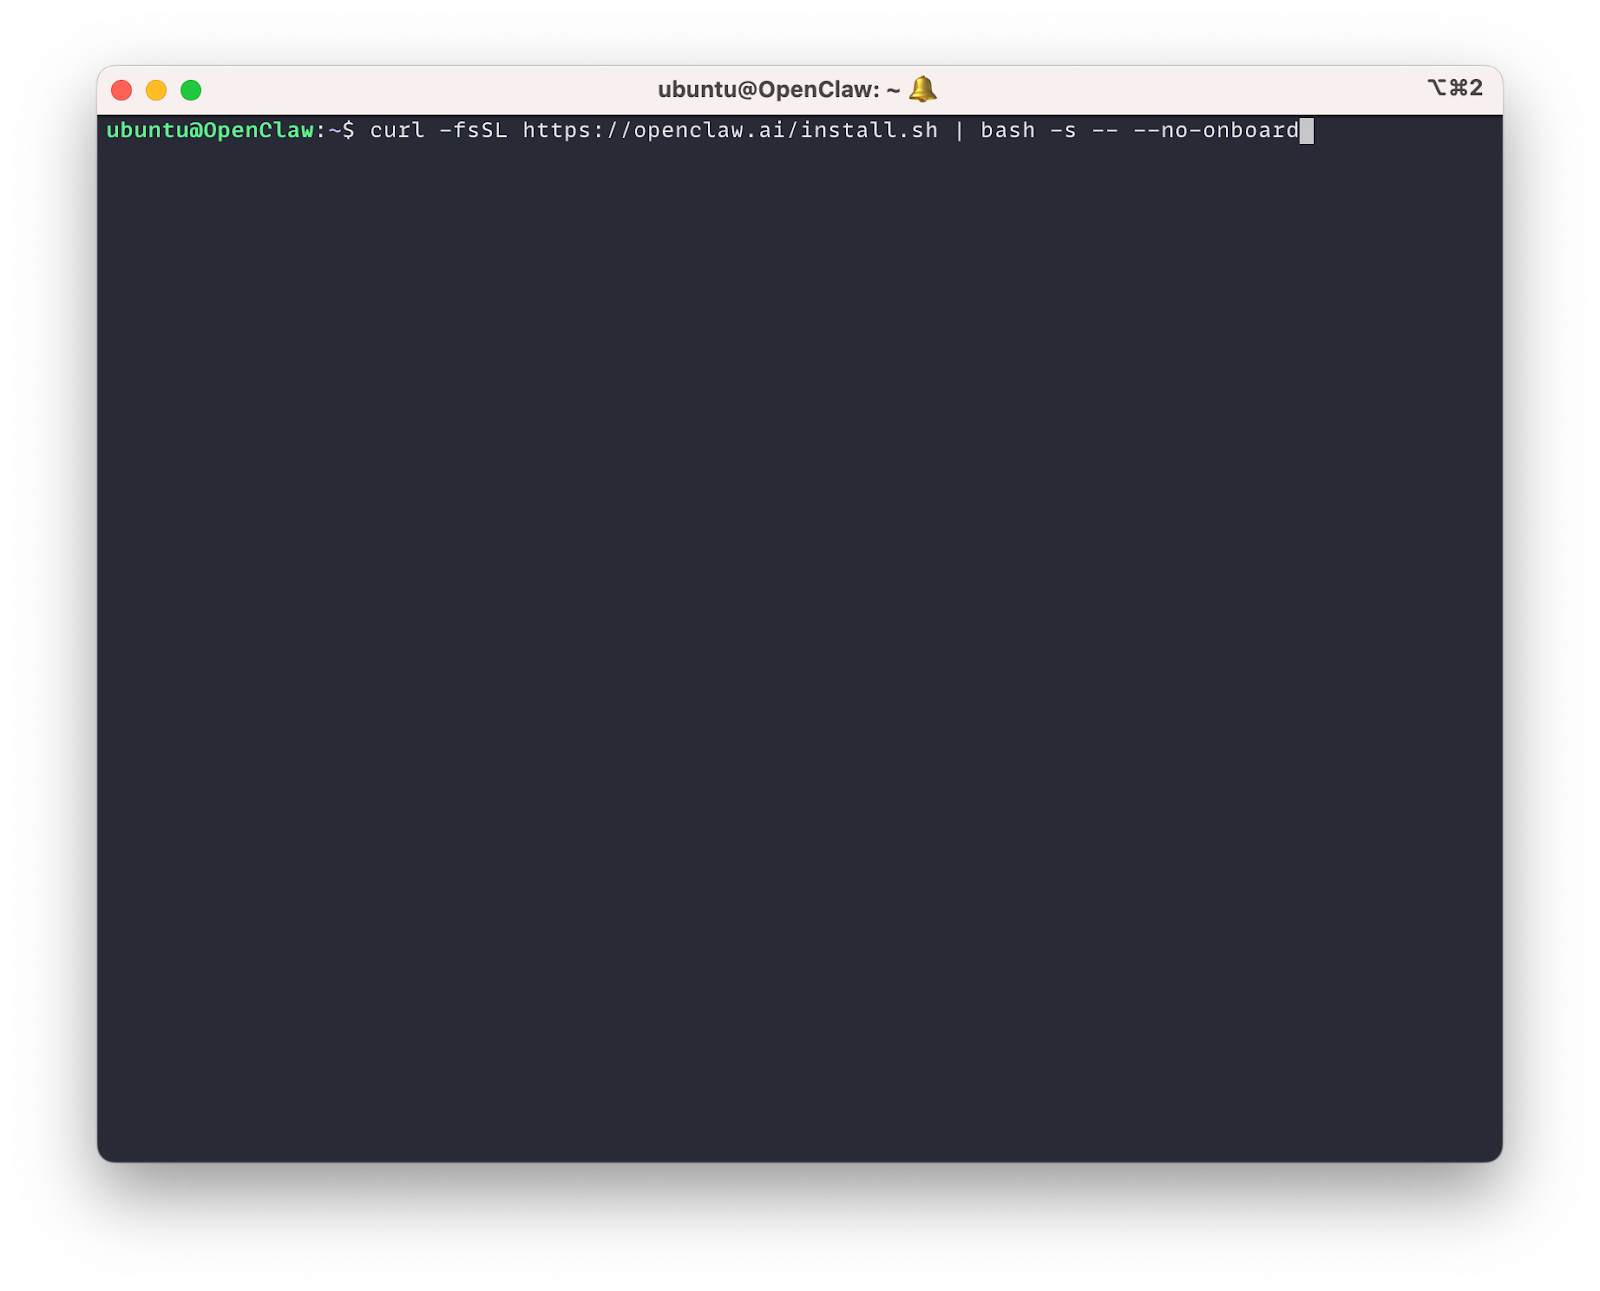
OpenClaw provides a simple one-line installation script that handles all dependencies automatically:
curl -fsSL https://openclaw.ai/install.sh | bash -s -- --no-onboard
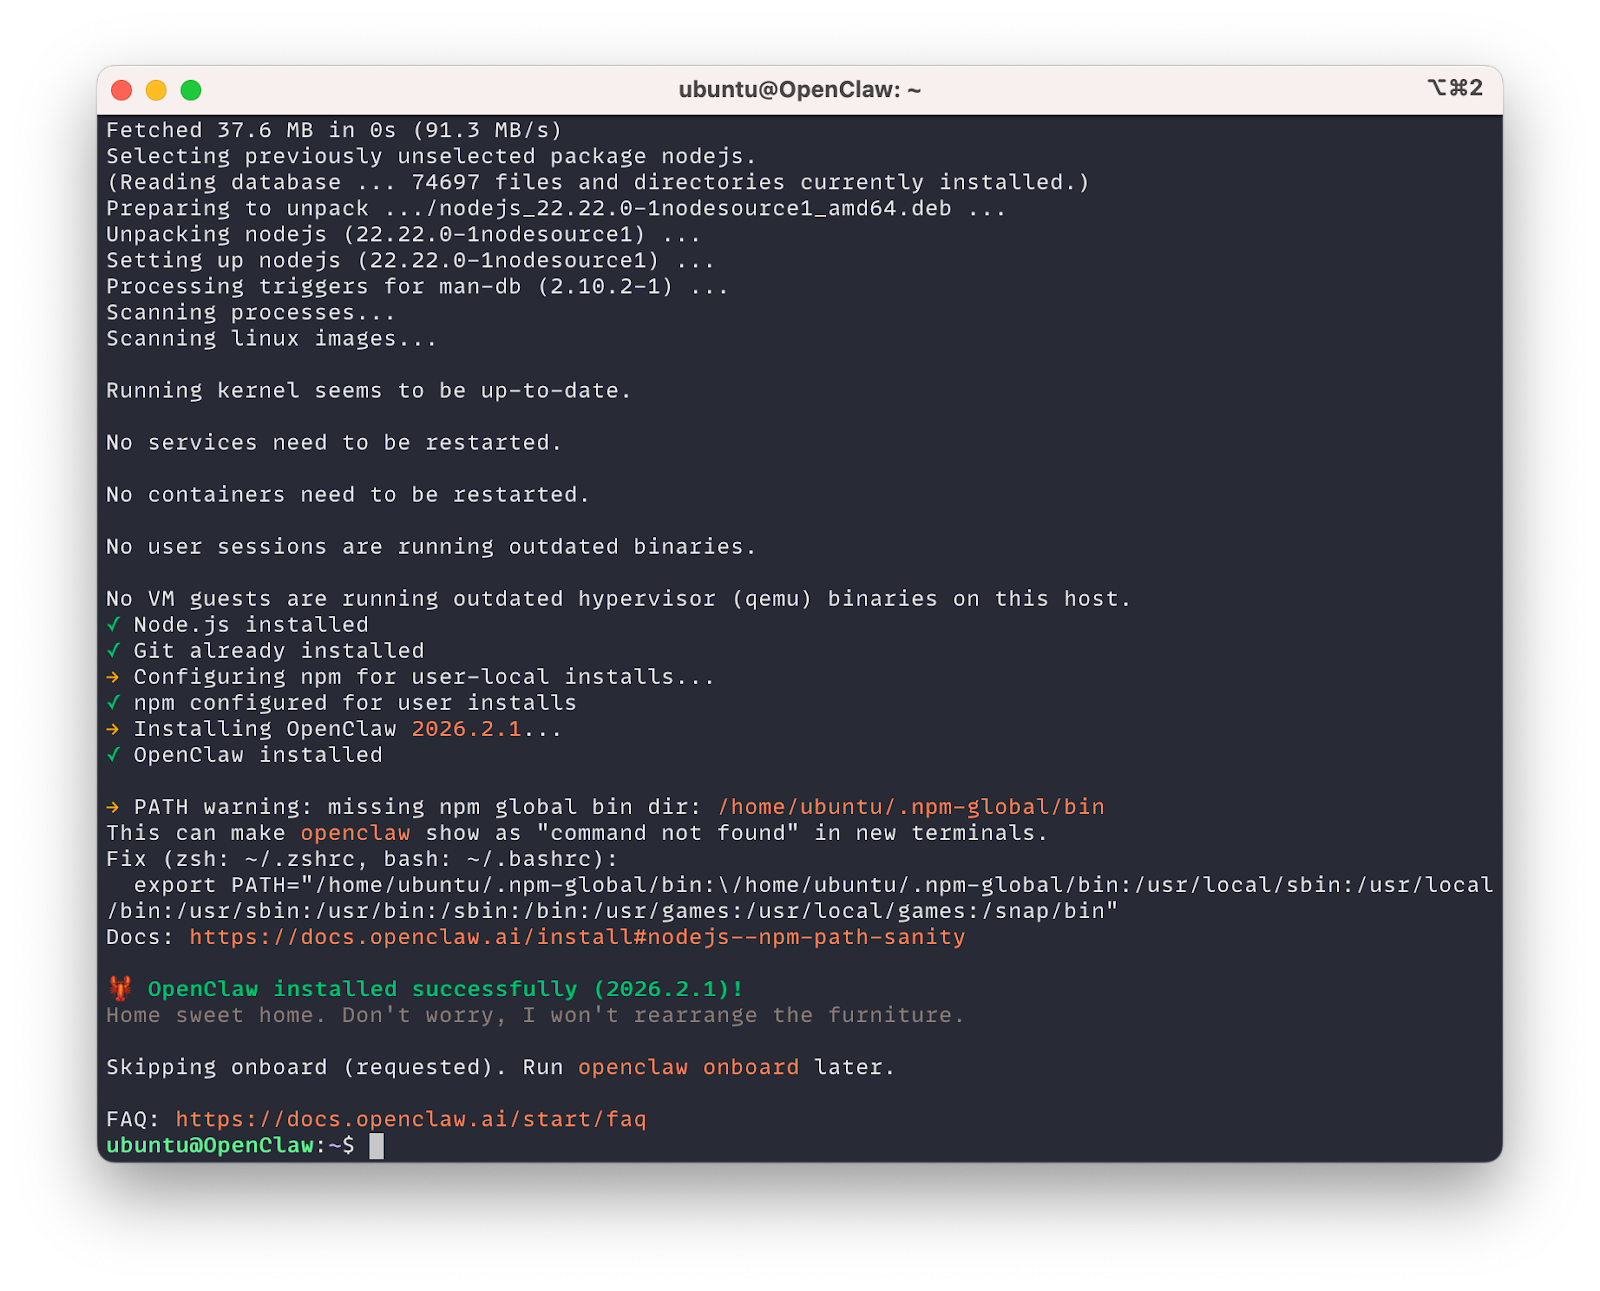
This command will:
- Install all required system dependencies
- Set up Node.js environment
- Install OpenClaw
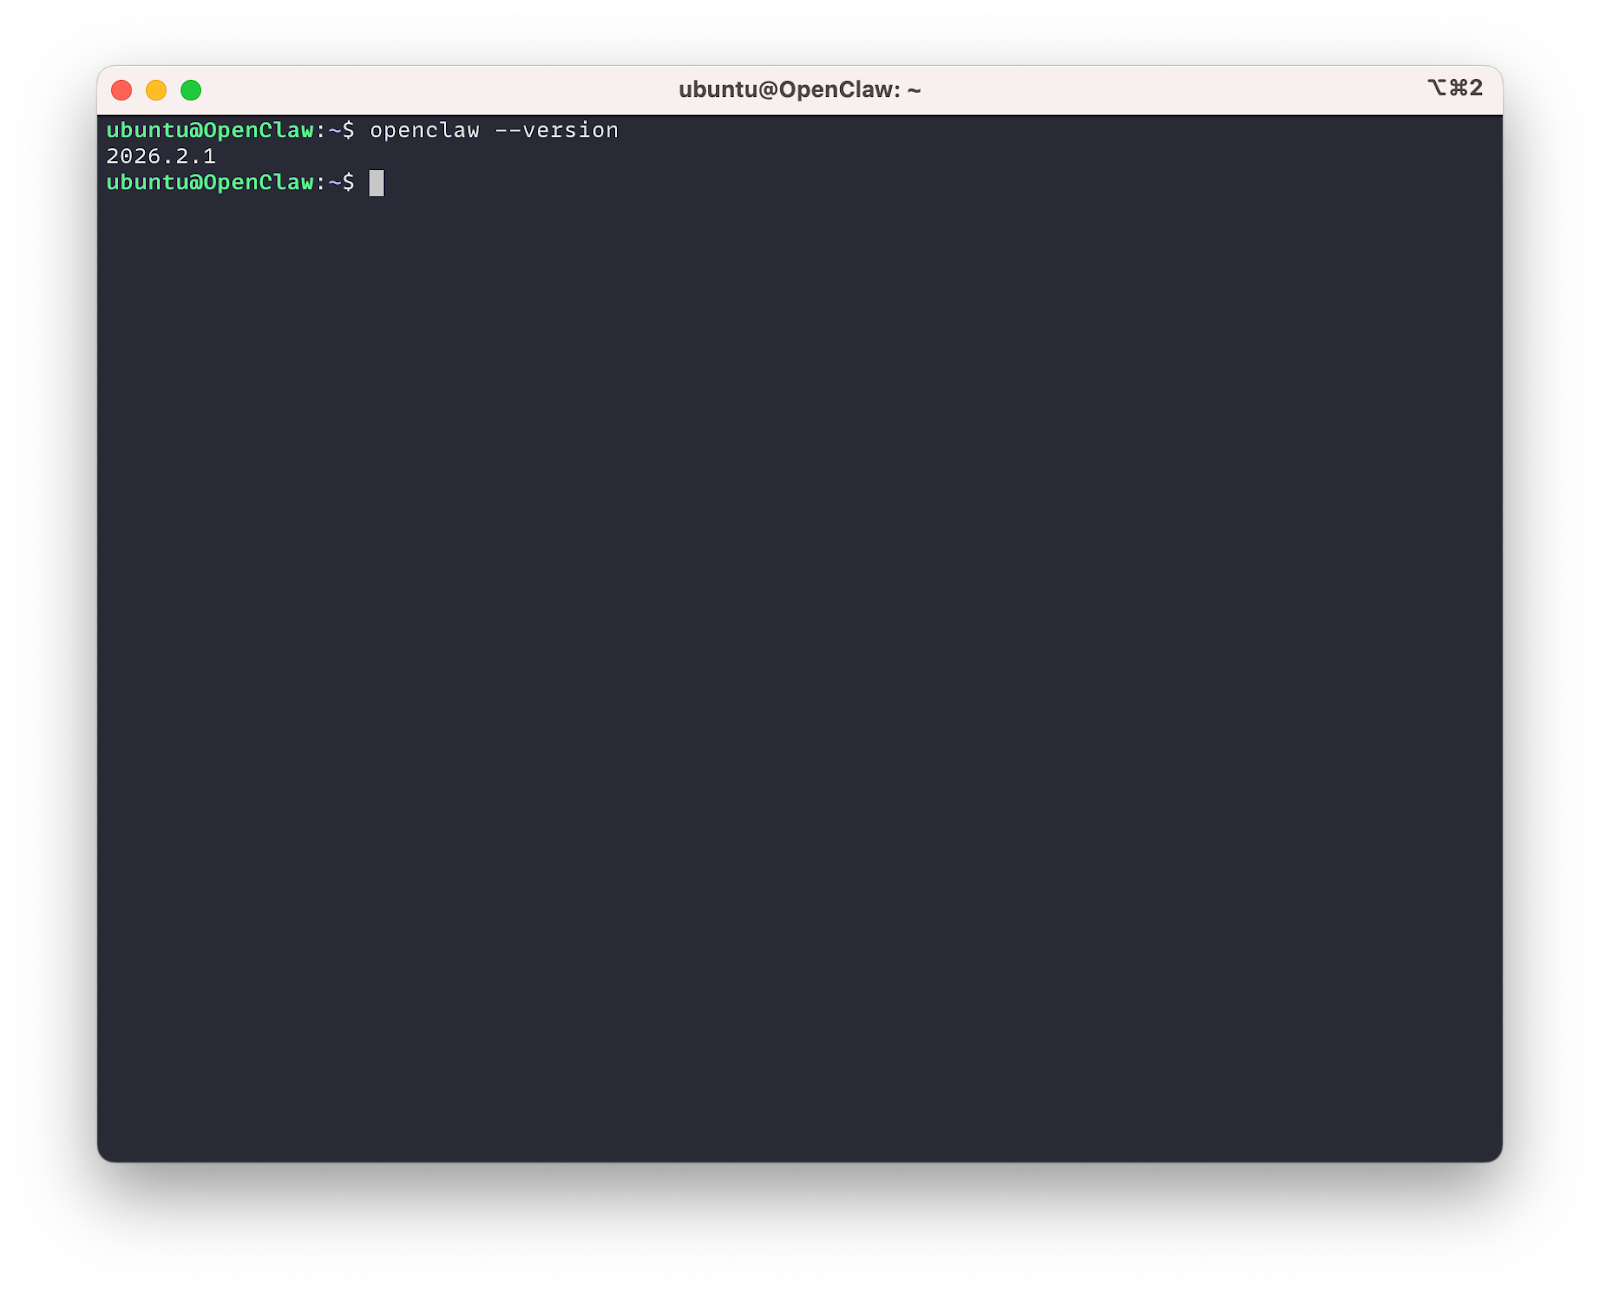
Once the installation is completed, verify it:
openclaw --version
💡 Tip: If you encounter openclaw: command not found, you may need to source your .bashrc file for the current session or update your PATH:
source ~/.bashrc
# Or manually add to PATH if necessary
export PATH="$HOME/.npm-global/bin:$PATH""
Step 3: Configuring OpenClaw
Initial Setup
Run the OpenClaw setup wizard to initialize your environment:
openclaw setup

This will create the basic configuration structure for OpenClaw.
Configuring AI Models
After the setup completes, edit the OpenClaw configuration file to add your AI model settings:
vim ~/.openclaw/openclaw.json
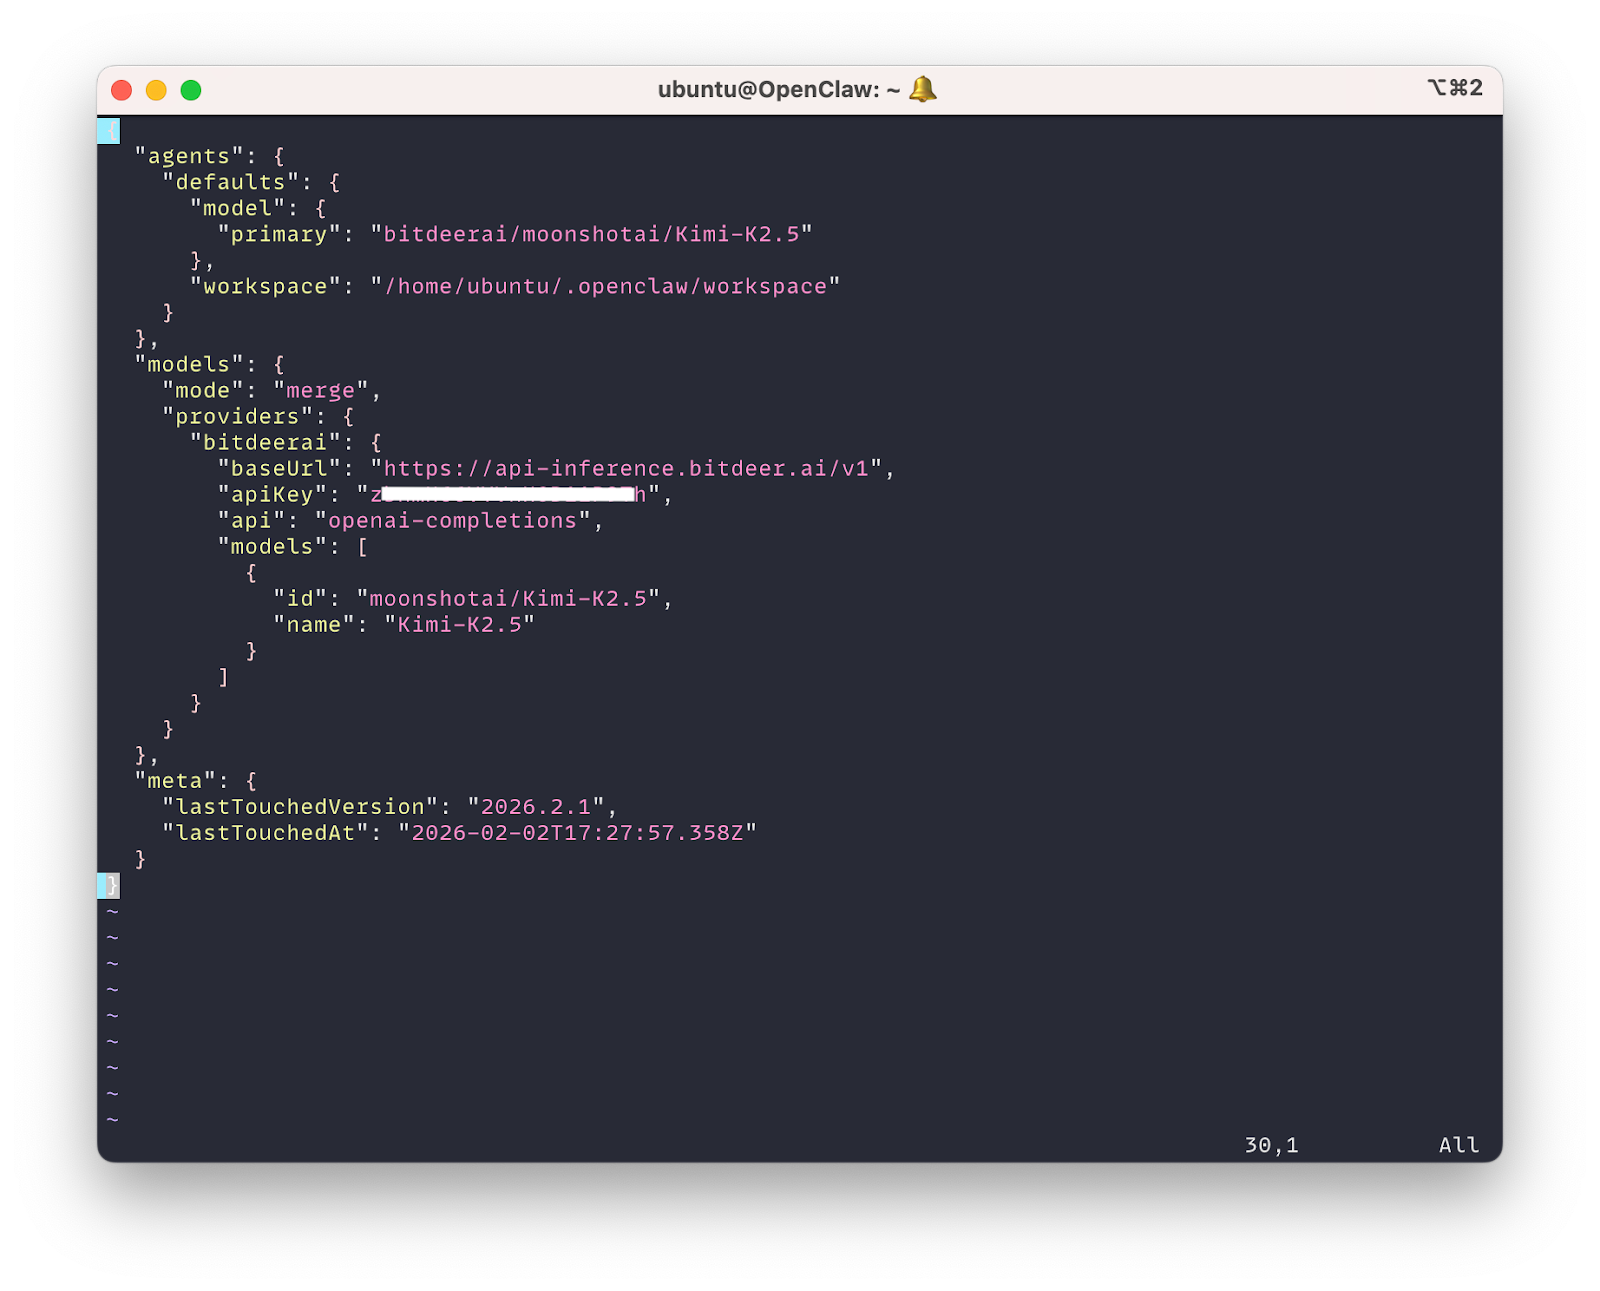
Update the configuration with your preferred models:
{
  "agents": {
    "defaults": {
      "model": {
        "primary": "bitdeerai/moonshotai/Kimi-K2.5"
      },
      "workspace": "/home/ubuntu/.openclaw/workspace"
    }
  },
  "models": {
    "mode": "merge",
    "providers": {
      "bitdeerai": {
        "baseUrl": "https://api-inference.bitdeer.ai/v1",
        "apiKey": "your-api-key-here",
        "api": "openai-completions",
        "models": [
          {
            "id": "moonshotai/Kimi-K2.5",
            "name": "Kimi-K2.5"
          }
        ]
      }
    }
  }
}
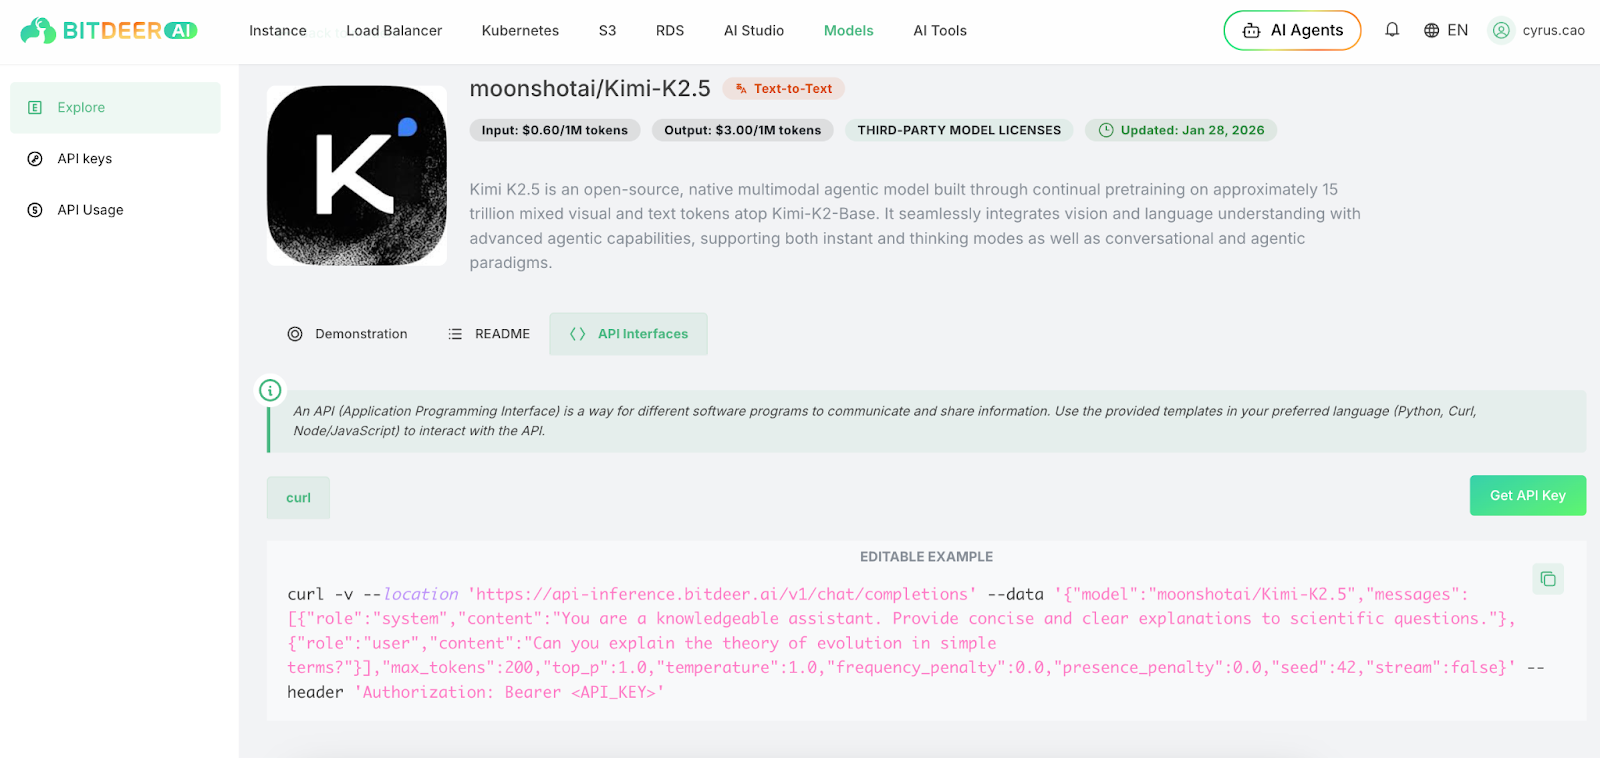
You can find more details in model card here:
Getting Bitdeer AI Cloud API Key
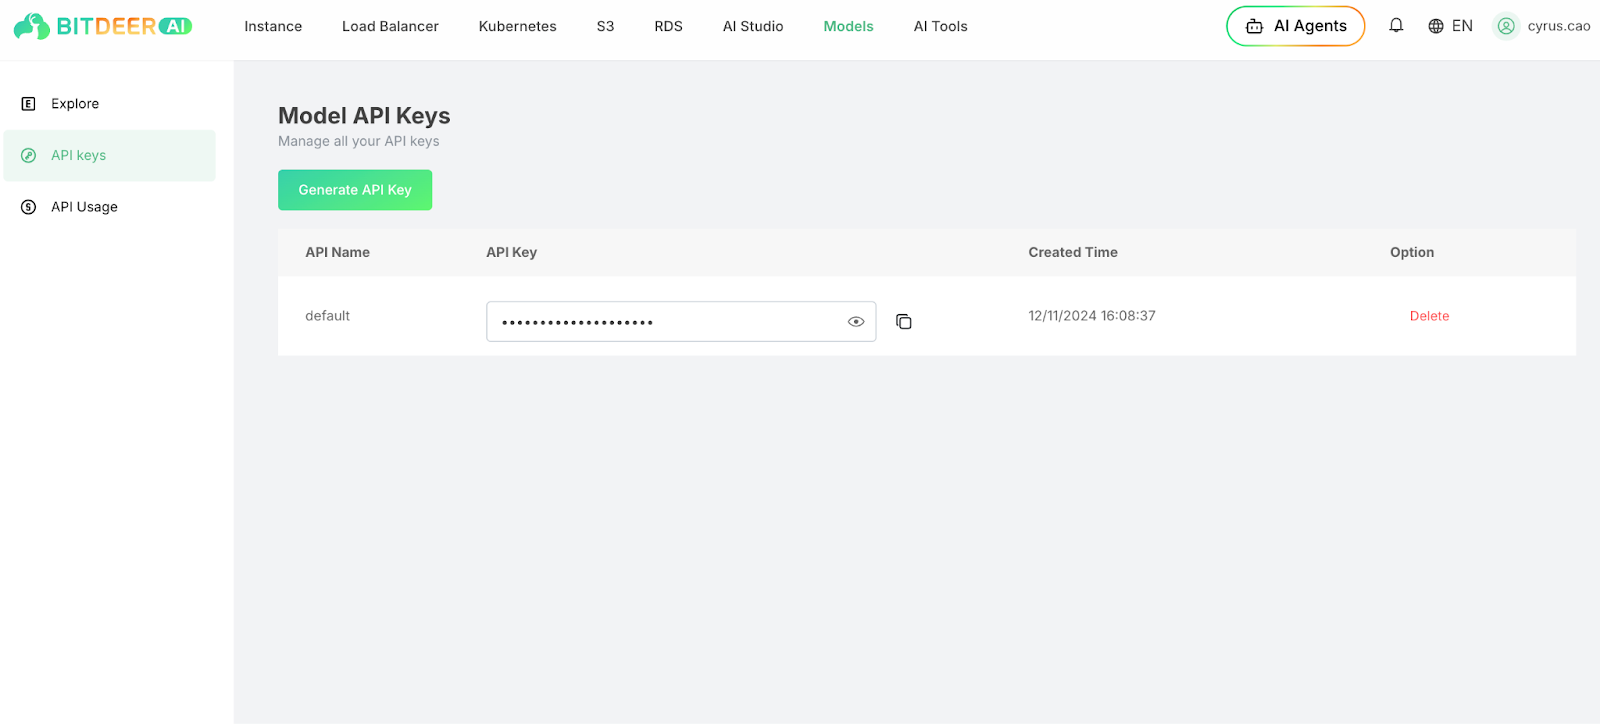
To obtain your API key from Bitdeer AI Cloud:
- Log in to your Bitdeer AI Cloud account
- Navigate to the API Keys section in Models
- Click "Generate API Key"
- Copy the generated API key and save it securely
⚠️ Important: Keep your API keys secure and never commit them to version control.
Verify Model Configuration
After configuring your models, verify that they are properly set up by listing available models:
openclaw models list
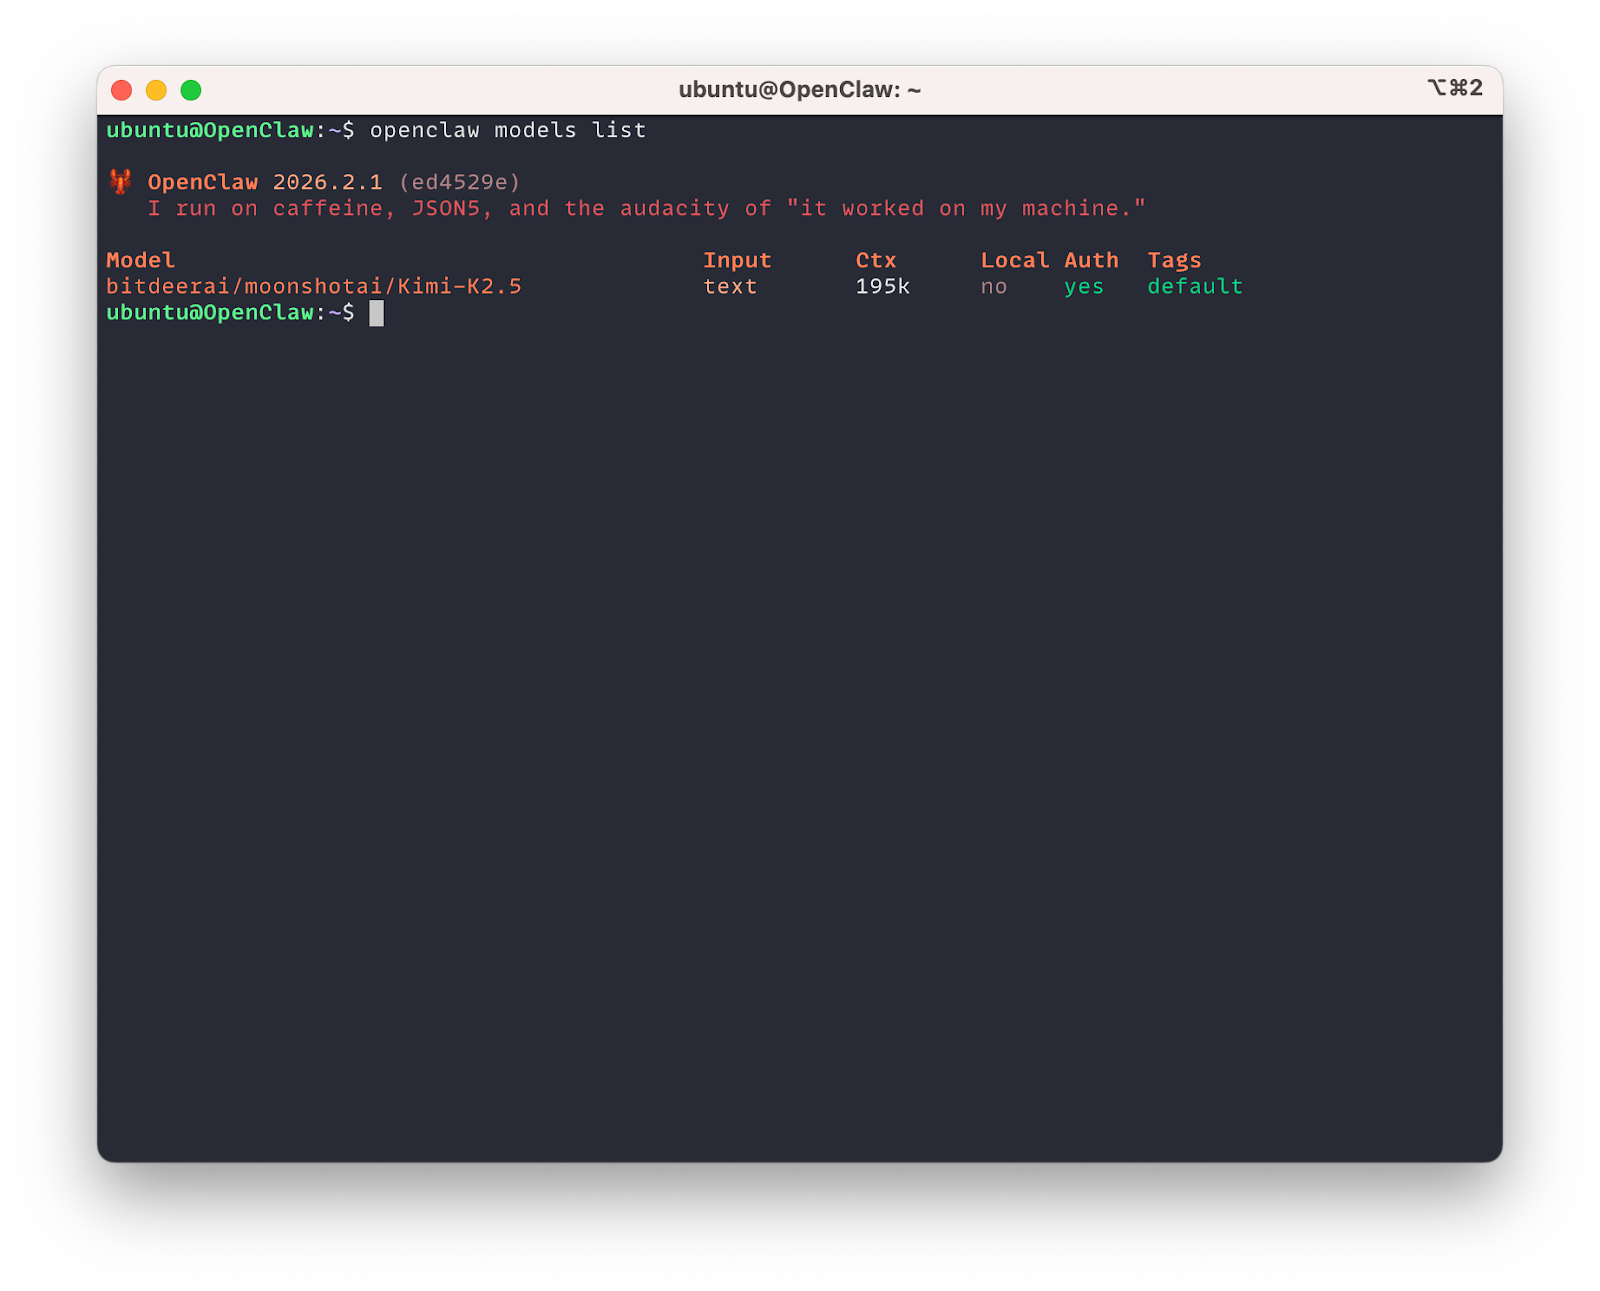
This command will display configured models and their availability.
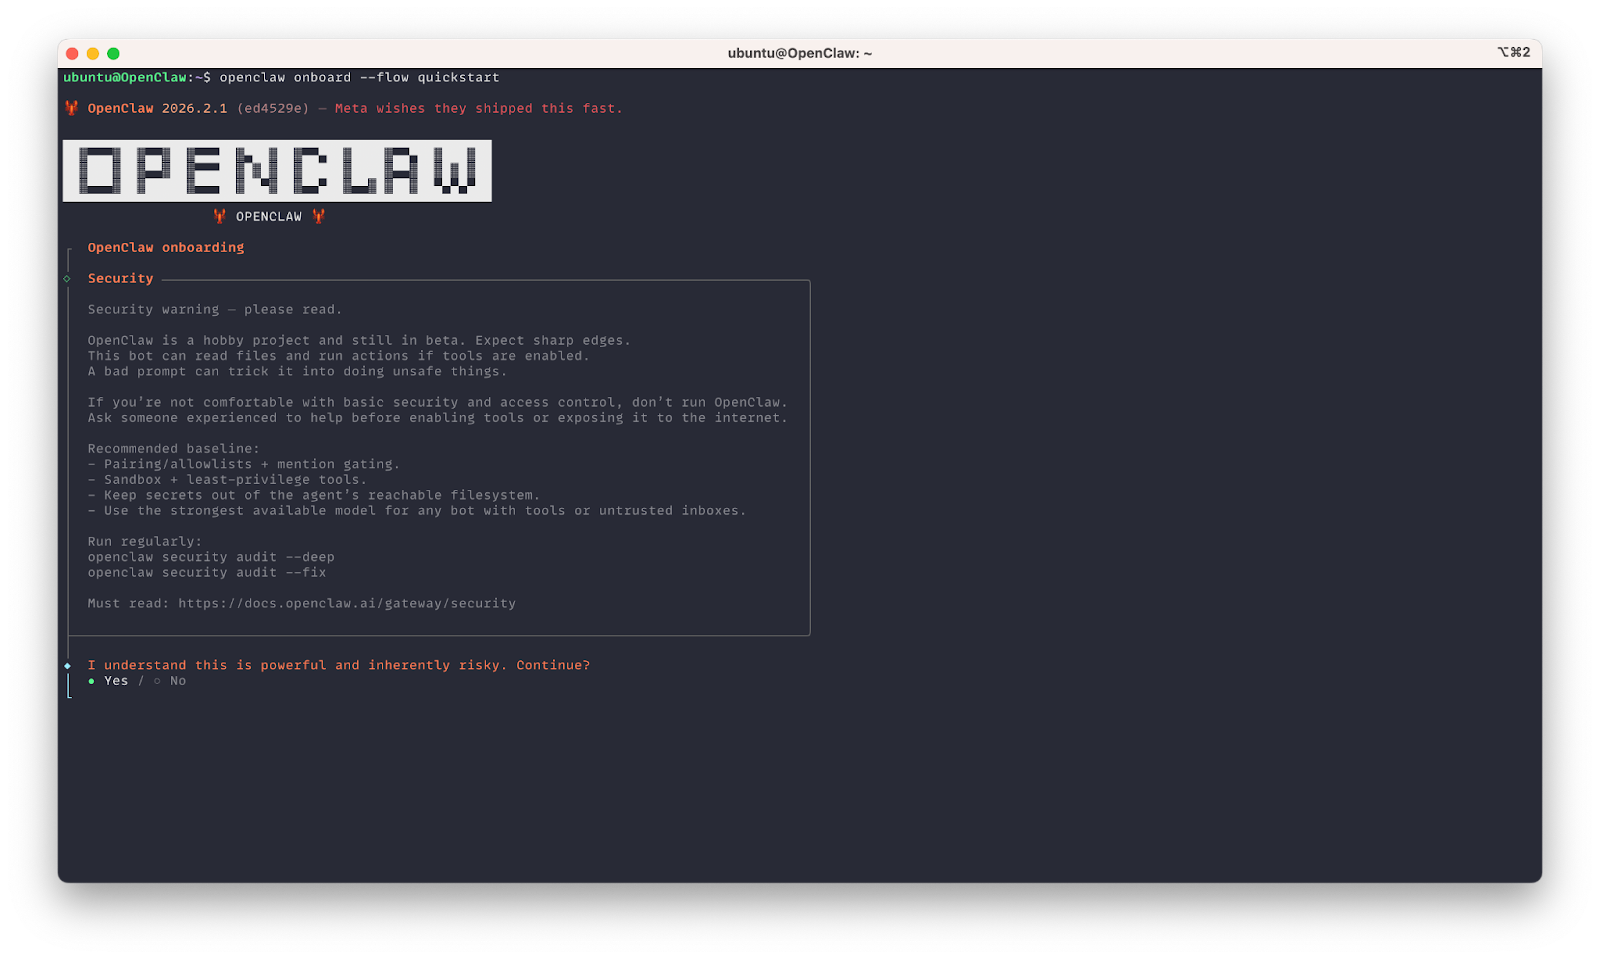
Onboarding Process
Complete the onboarding process to finalize your OpenClaw service:
openclaw onboard --flow quickstart
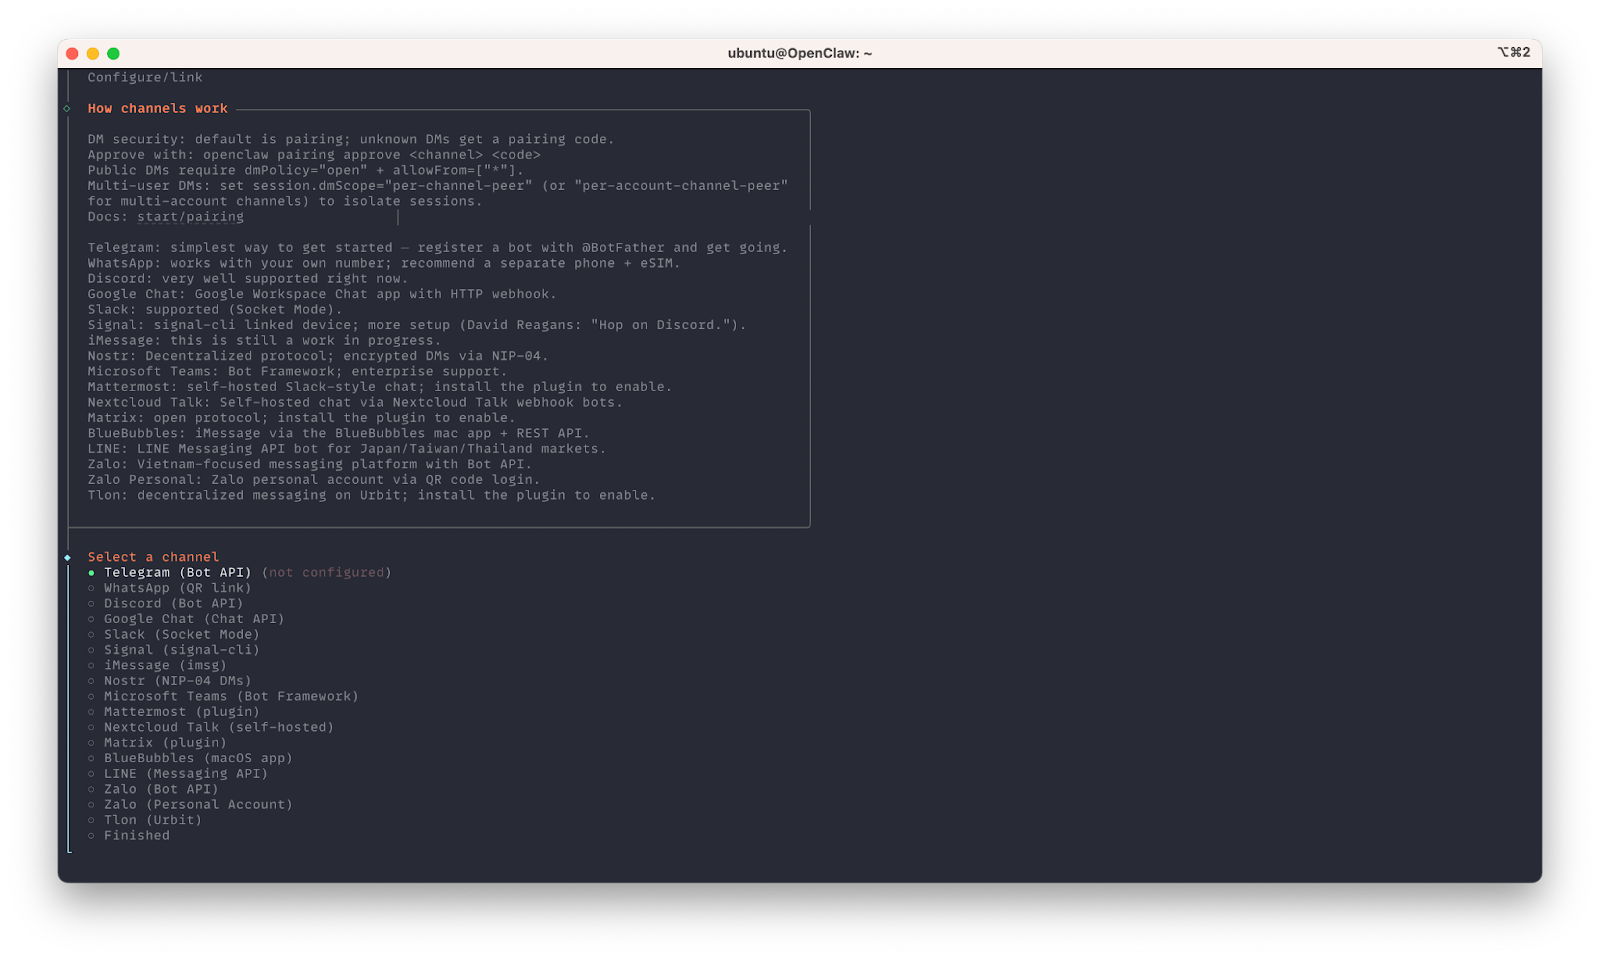
Setting Up Telegram Channel
During the onboarding process, select Telegram as your communication channel and provide your bot token.
After completing the onboarding process, the OpenClaw service will automatically start and run in the background.
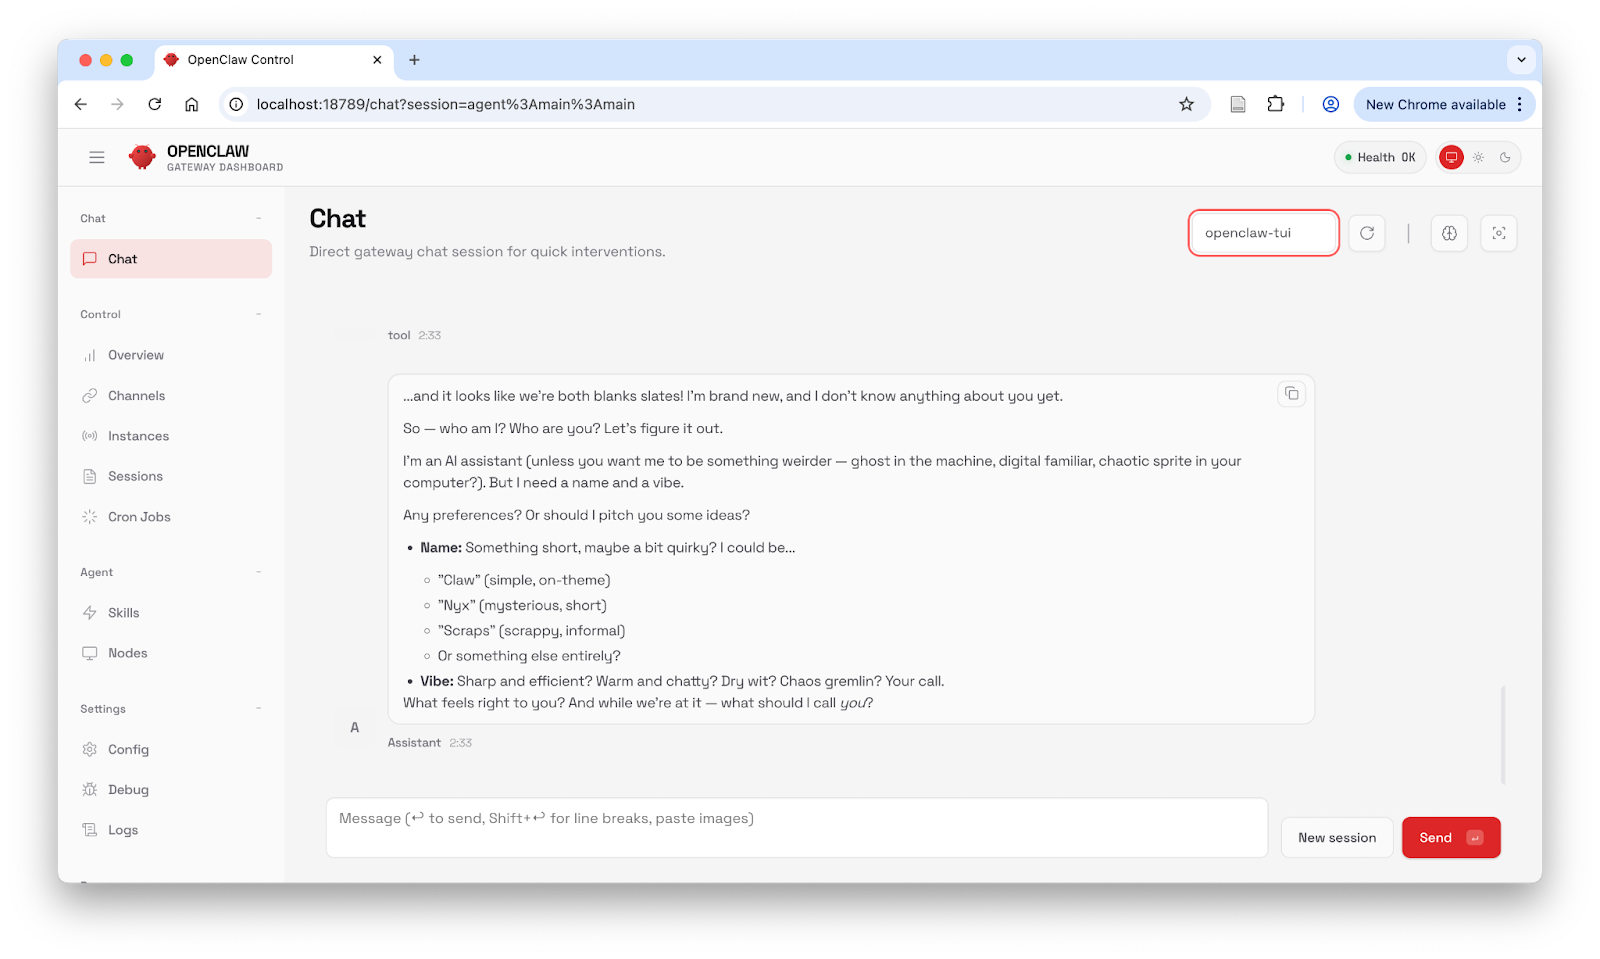
Accessing OpenClaw Control Panel (Optional)
If you want to access the OpenClaw control panel via web interface, you can set up an SSH tunnel and access it using the gateway token.
First, find your gateway token in the configuration file:
cat ~/.openclaw/openclaw.json
Look for the gateway configuration section:
{
  "gateway": {
    "mode": "local",
    "auth": {
      "mode": "token",
      "token": "your-gateway-token"
    },
    "port": 18789
  }
}
Create an SSH tunnel from your local machine to access the OpenClaw control panel:
# Run this on your local machine
ssh -L 18789:localhost:18789 username@your-instance-ip
Then open your browser and navigate to:
http://localhost:18789?token=your-gateway-token
Use the gateway token from your configuration file to authenticate.
Step 4: Pairing with Telegram
Connect Your Telegram Chat
After the OpenClaw service is running with Telegram integration enabled, you need to pair your Telegram chat:
- Open Telegram and find your bot
- Send /start command to initiate the conversation
- The bot will respond with a pairing code
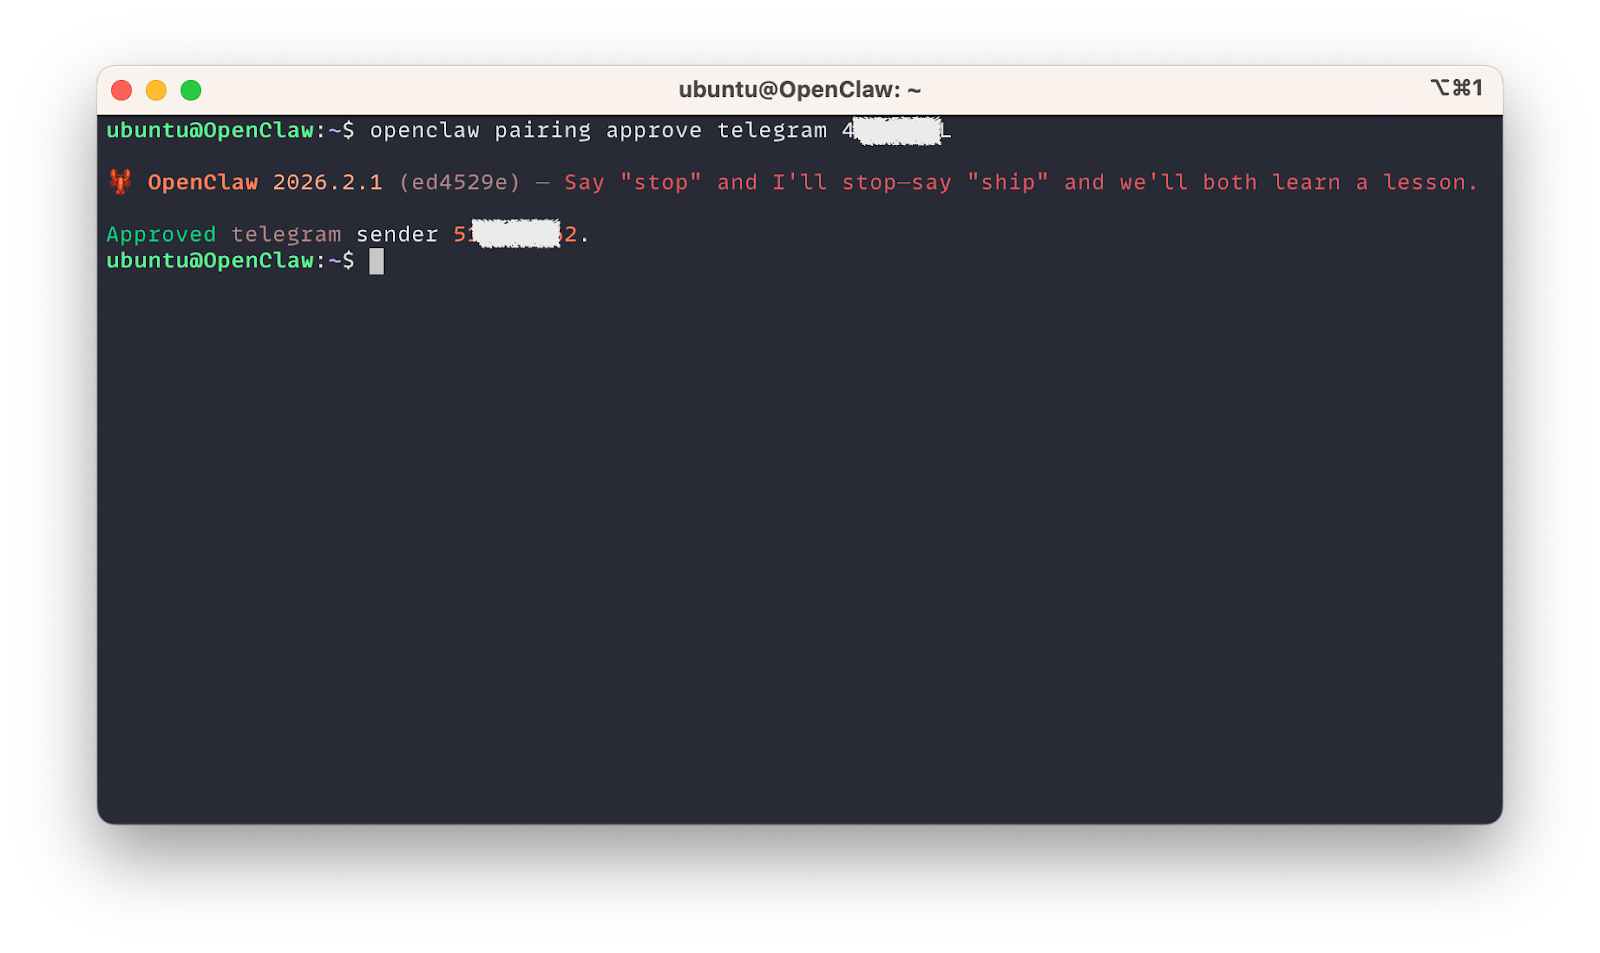
- Enter the pairing code in your OpenClaw terminal:
openclaw pairing approve telegram <pairing-code>
Interactive Chat
Once paired, you can start chatting with your AI assistant:
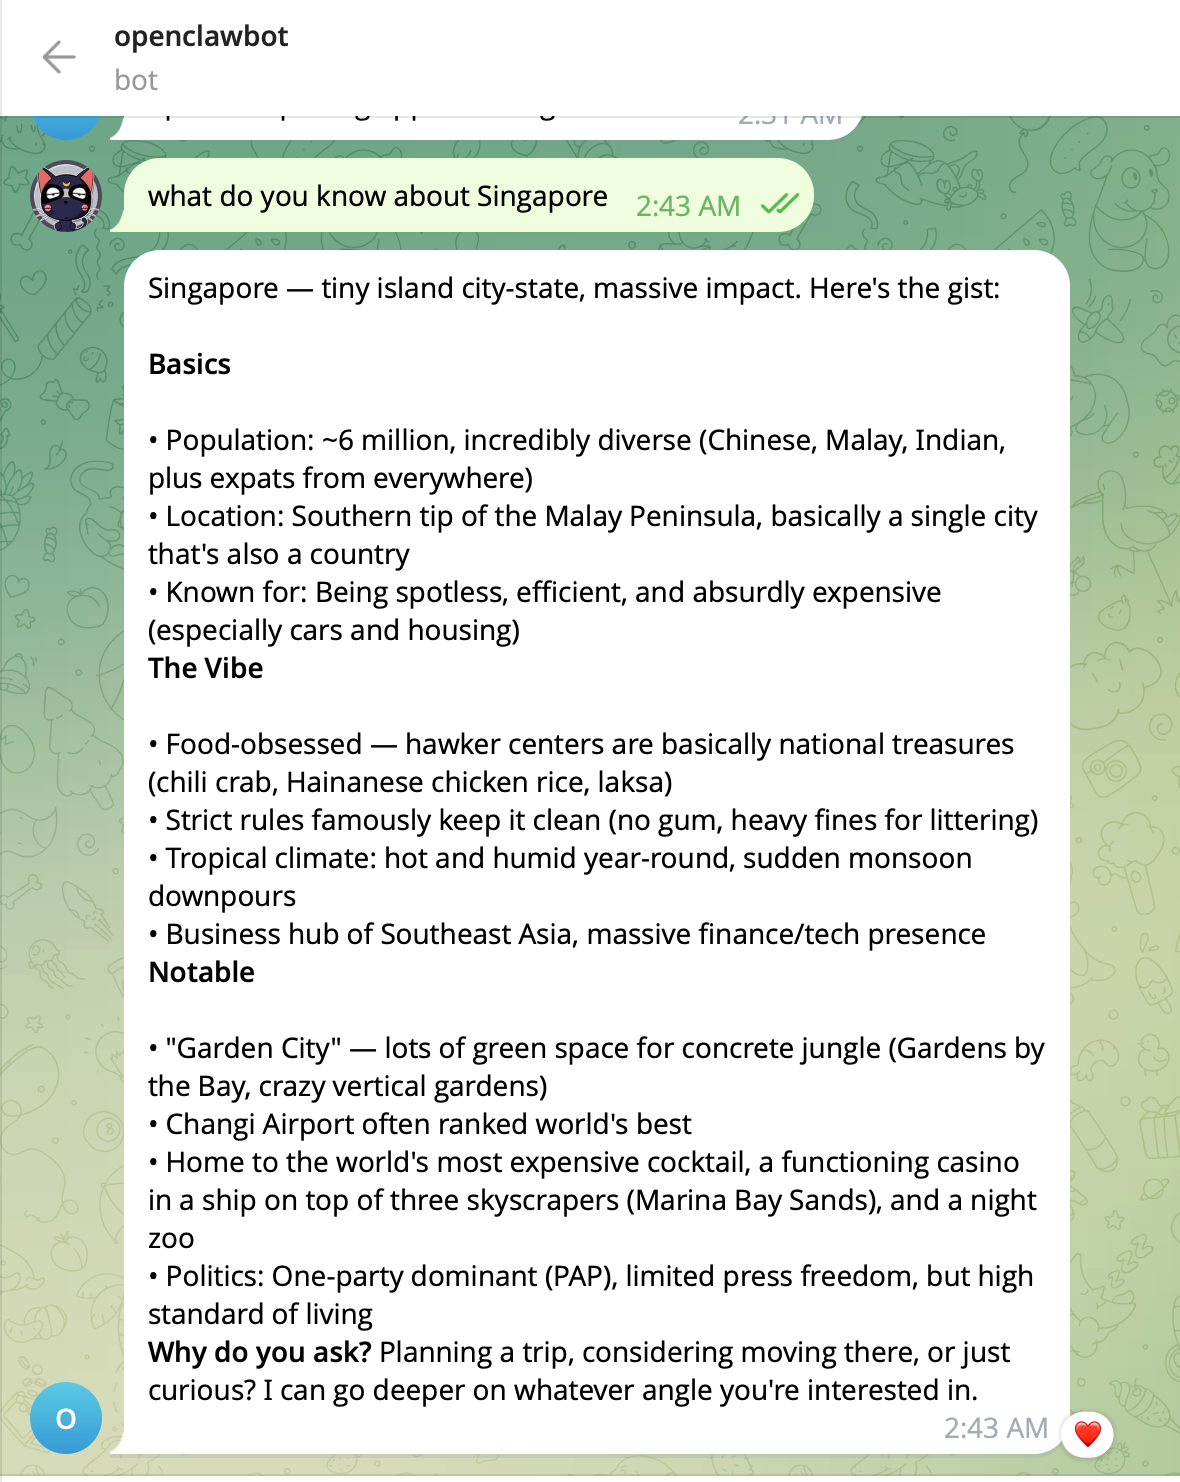
The bot can:
- Answer questions using the configured AI model
- Perform web searches
- Execute code snippets (with proper sandboxing)
- Handle file uploads and processing
- Maintain conversation context
Using Telegram Commands
OpenClaw provides several built-in commands:
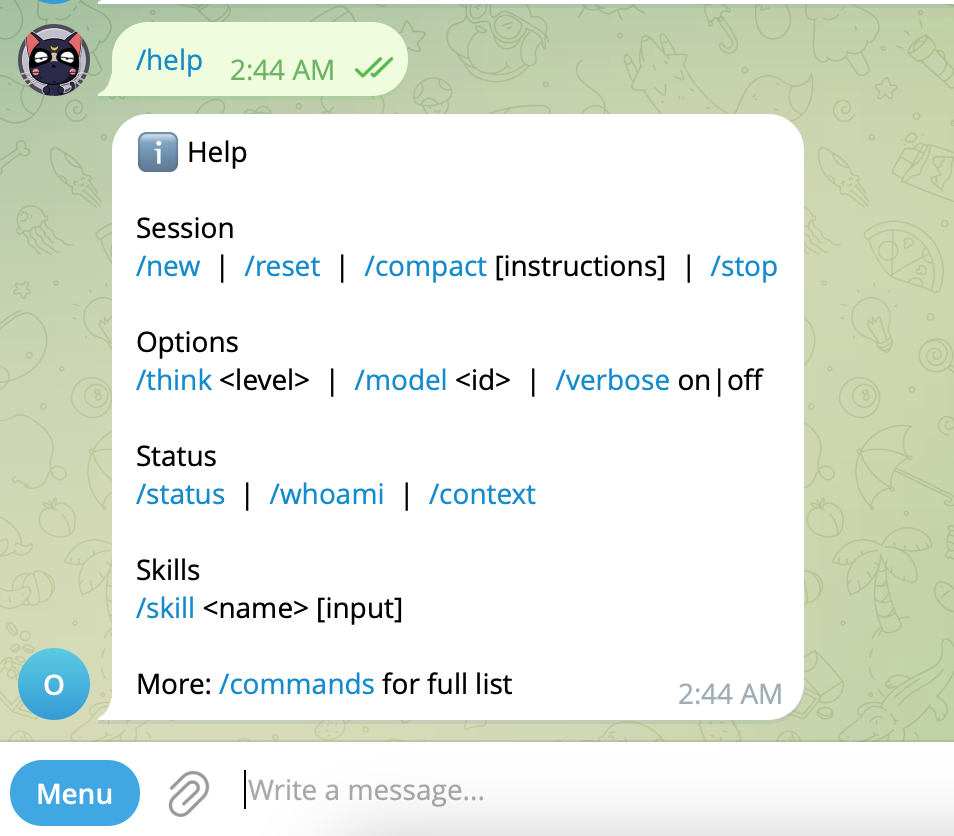
Common commands include:
- /start - Initialize the bot
- /help - Show available commands
- /status - Check bot status
Conclusion
You now have a fully functional OpenClaw AI assistant running on Bitdeer AI Cloud with Telegram integration. This setup provides you with a powerful, customizable AI agent that can assist with various tasks while maintaining security and performance.
The combination of Bitdeer AI Cloud's reliable infrastructure and OpenClaw's flexible framework creates an ideal environment for building and deploying intelligent assistants. As you become more familiar with the platform, you can explore advanced features like:
- Advanced agent skills
- Integration with other channels
Happy building!
*Security Note: Apply appropriate access controls for sensitive actions.